Take several good long exposure photos. To do this you need a tripod that tracks (i.e., moves) with the earth’s rotation (see Fig. 1). The photos below are 2-minute exposures taken with a Canon D70 Full Spectrum camera. This type of camera has all factory filters removed to preserve the full spectrum of light. The camera has been placed atop my Celestron telescope and tripod which can track with the earth’s rotation. This part of the photography takes some practice to get good images.
The below snapshot shows the settings I used to stack the images. Stacking increases the exposure time to show more details in the photo.
Settings used in Sequator
The photo above is the final processed image from Sequator.
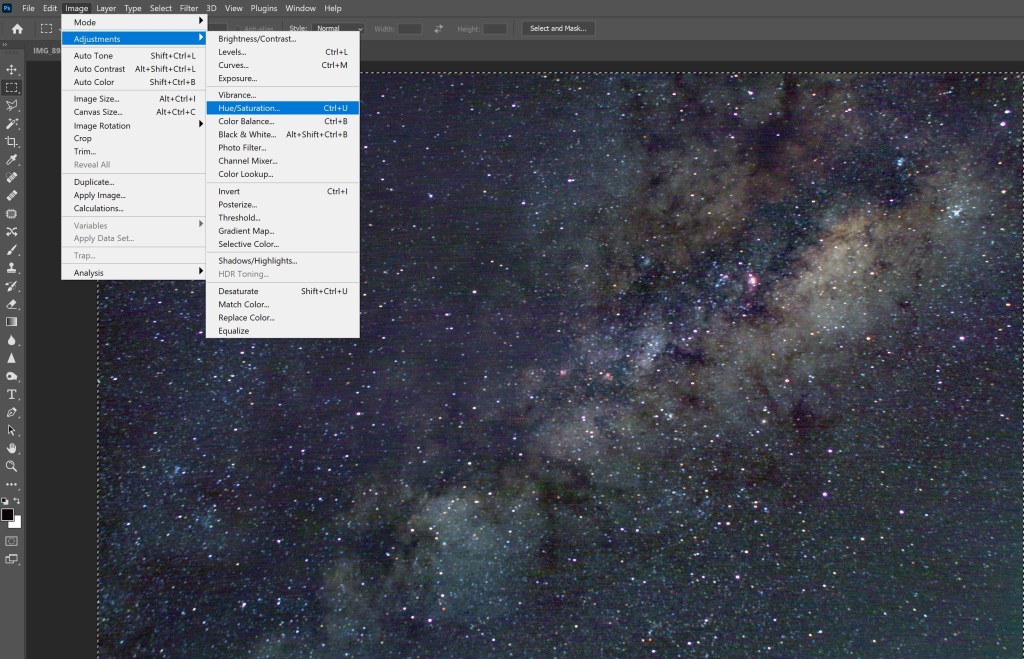
The above photo shows much more detail than the original two-minute exposures. However the color is not correct and needs to be adjusted. As a first try, I used Photoshop and its Auto Tune, Auto Contrast, and Auto Color options. Also, I suggest before you use these features, find photos of the same feature from the web so you know the tone and the color of the objects.
Color Adjustment in Adobe Photoshop
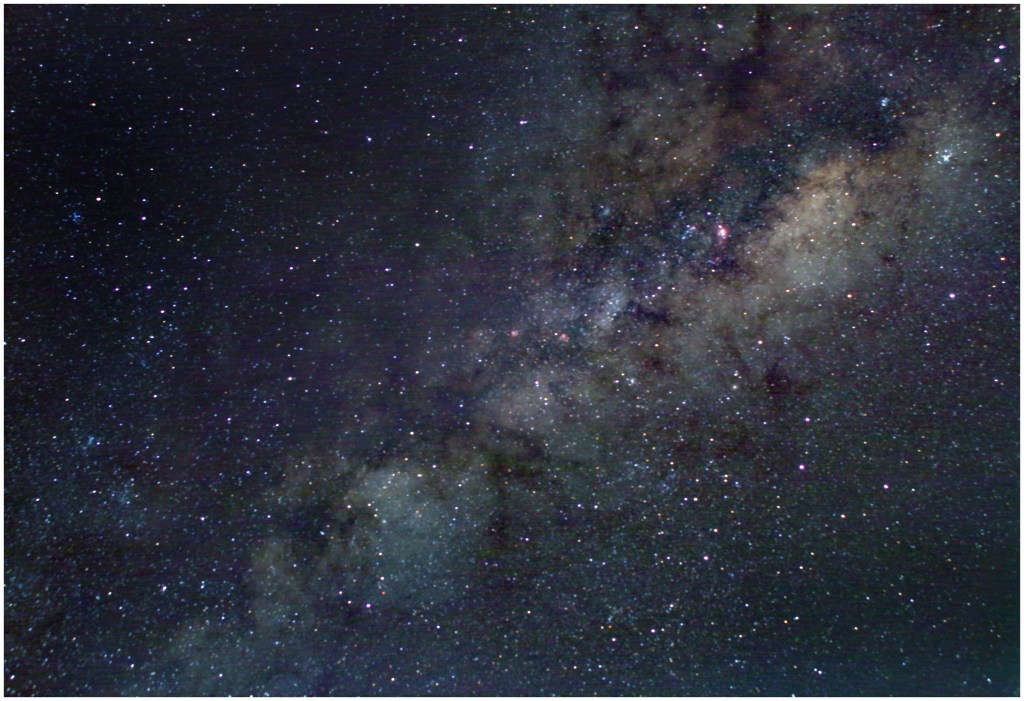
After cropping the image, this is how it appears
The image has a lot of background pixel noise that came from the camera’s chip during the long exposure. This can be somewhat corrected using the filter/noise/dust and scratches option in Photoshop. I recommend that you try radius = 4, threshold = 0 for this filter.
Final processed photo of the Milk Way Galaxy (July 2022)